
Hey guys! Lately I have noticed a lot of "build threads" popping up and I think it's a great idea. I have done a lot of things to my truck in a short amount of time and most of them I haven't made any write-ups for. Well, it's time to quit being lazy and get off my butt! So this is my attempt at a build thread, but I am going to do things a little different. This is going to be my master thread. Every mod I have done will get posted in here along with pictures. The bigger mods, or ones that require directions, will get their own thread in the most appropriate category and I'll post the link in this one. I figure that will make it easier for people looking for specific topics to find them. Thanks for looking guys and if you have any questions just ask!
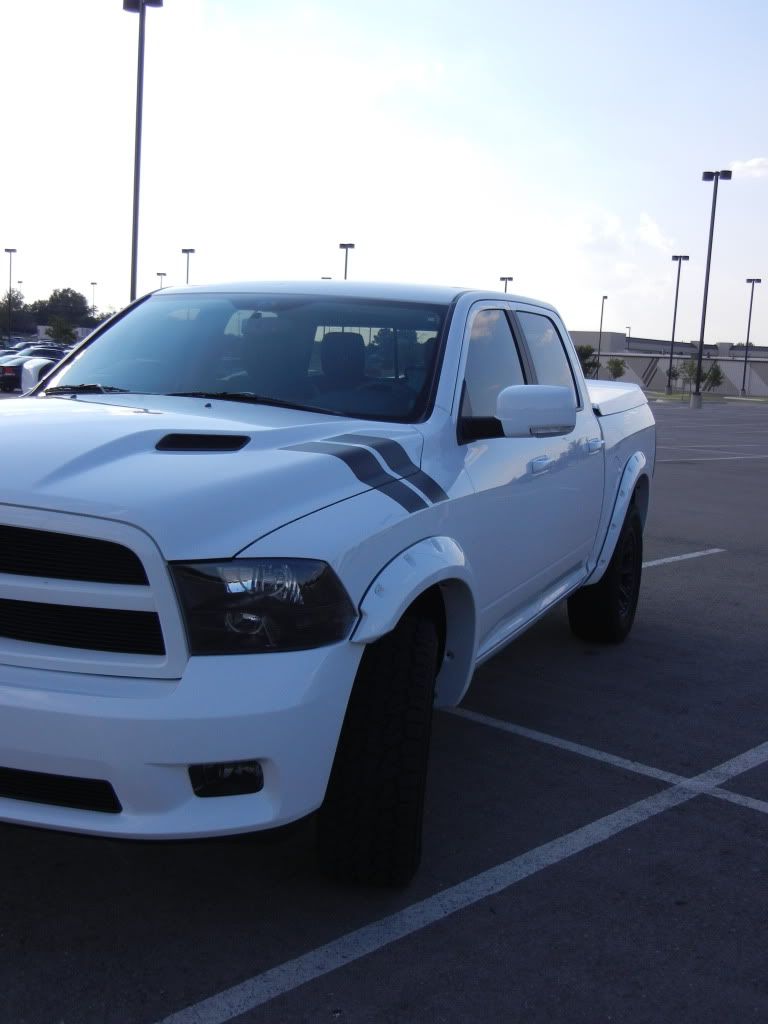
My truck is a 2011 Crew Cab Sport 4x4. I found this one in Waco and had my dealer transport it up to OKC. It has every option Dodge offered except for: sunroof, 3.92s(mistake), power pedals, 32 gallon tank, entertainment package, and the internet. It also came with the chrome tubular side steps and the sport hood.
Disclaimer:
My truck is really dirty in some of these pics. I work outside and by the time I get home the last thing I want to do is go out in this heat and wash my truck.
Also, I am really sorry for all of my typos. I was exhausted when I was typing this thing out and it showed. I tried to go back and fix them. If I missed any let me know and I will edit some more.
Here is the thread for the background on the truck- http://www.ramforumz.com/showthread.php?t=81615&highlight=finishing+touch
My original picture thread- http://www.ramforumz.com/showthread.php?t=81724
![Image]()
![Image]()
I have several mods that I have at home waiting to be installed. I will add them to this thread this weekend and I’ll continue to update this thread on everything I do…
Exterior Mods:
Front Tint- I had the dealer do this before delivery so I don't have a before and after pic. I just had them match the factory tint and I have been pretty happy with it.
Debadged- I did this right when I got the truck and I dont really have any pics as I was going through the process. In my prior vehicles I just used a heat gun and pried the lettering off and used acetone to get the remaining residue off. Followed it up with a wax and I was done. For some reason that just didn't work with the Ram. I think it has to do with the larger size of the badges so they used more adhesive than other companies. It took me forever to do it my way. After I was done I searched for debadging and noticed I was doing it wrong. lol. For the Ram I would highly recommend fishing line to remove the badging and then using an eraser wheel to remove the residue. I am going to post a link to Razorbass debadging thread instead. I doubt that I could do a better job than he did in his write-up http://www.ramforumz.com/showthread.php?t=86530
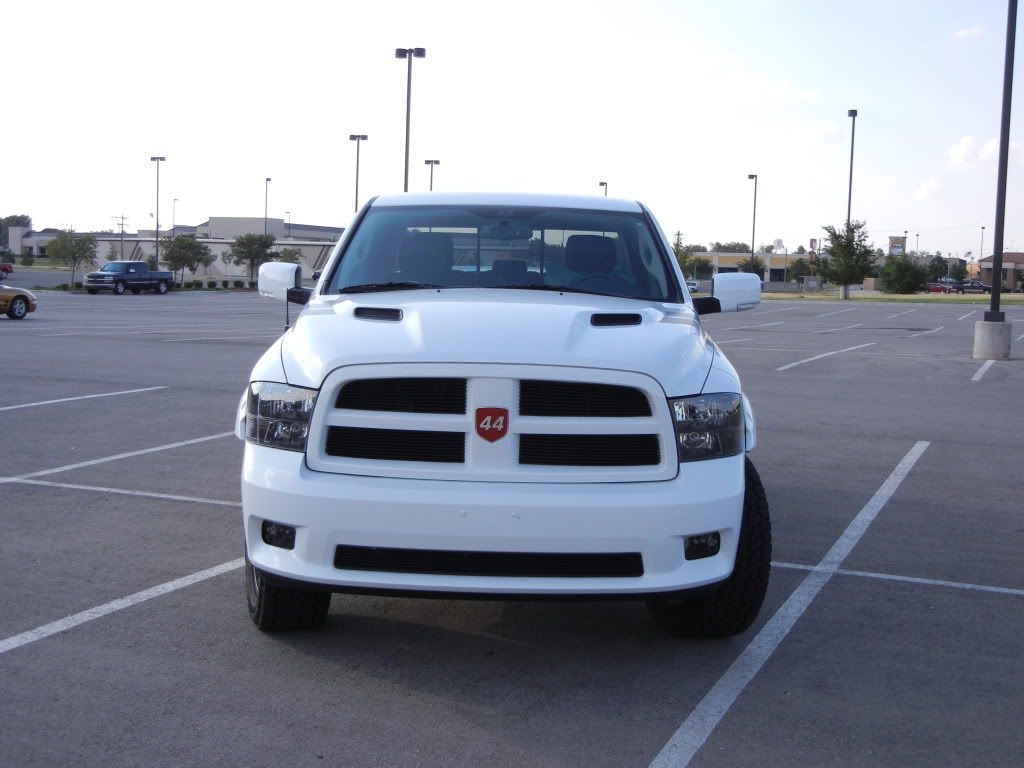
Bumper Plugs- Just as the name eludes to, these cover the holes in the front bumper from installing a license plate. My truck was originally at a Texas dealer so they put a license plate there before I took possession of it. When I got the Bumper Plugs in, I drilled out the holes per the install instructions and just pushed them in. Be careful not to push on the edges because that can crack the paint. It's not as clean as no holes, but it’s hard to notice them unless you know what you are looking for.
![Image]()
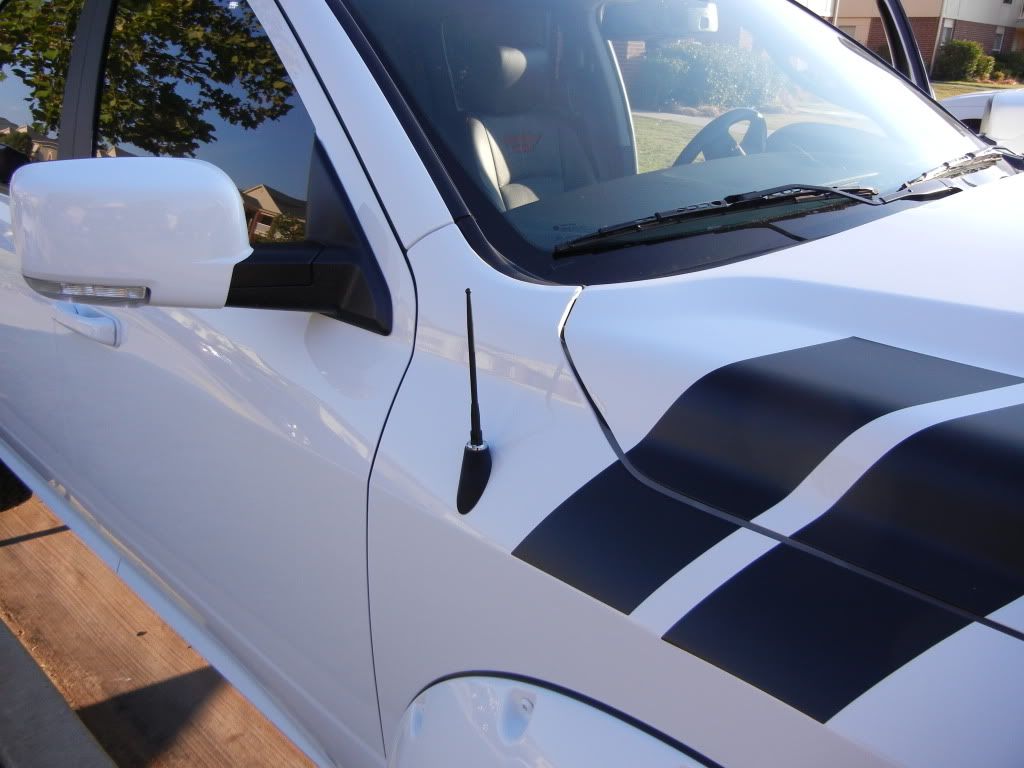
Billet shorty antenna- I purchased this off of eBay. I don't think a write-up is really needed. lol. The sellers name is ndzperformance. They shipped it out promtly and packaged it well. It was a little expensive for an antenna, but I was okay with it. You can always go to autozone and get a similar product...
![Image]()
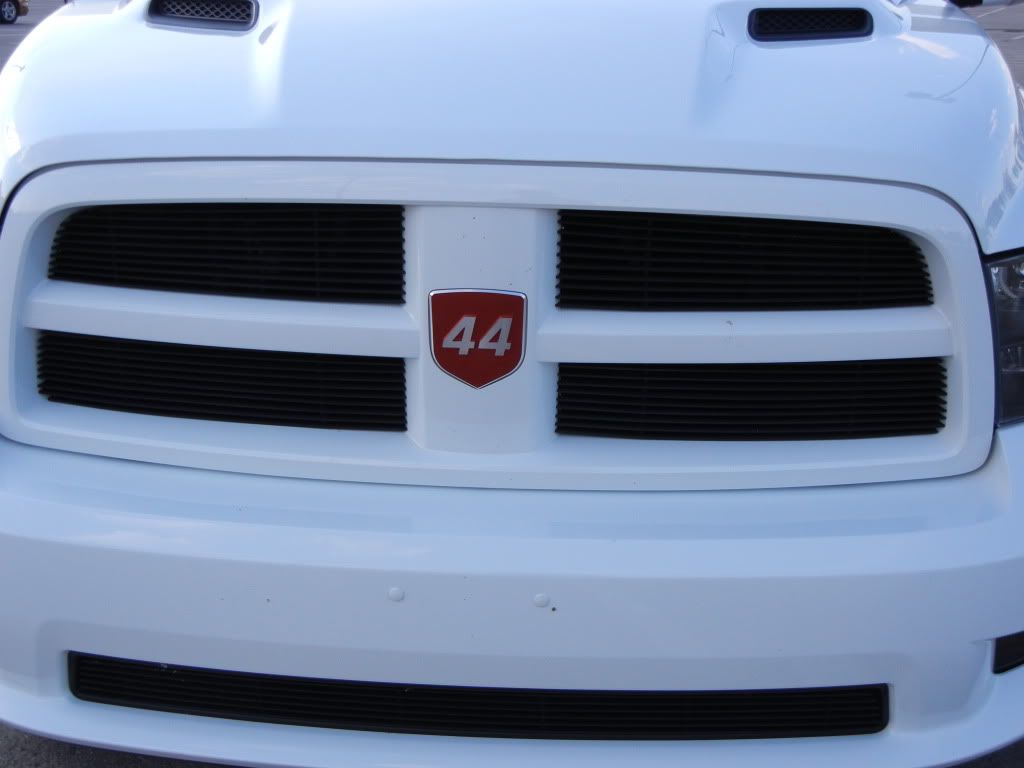
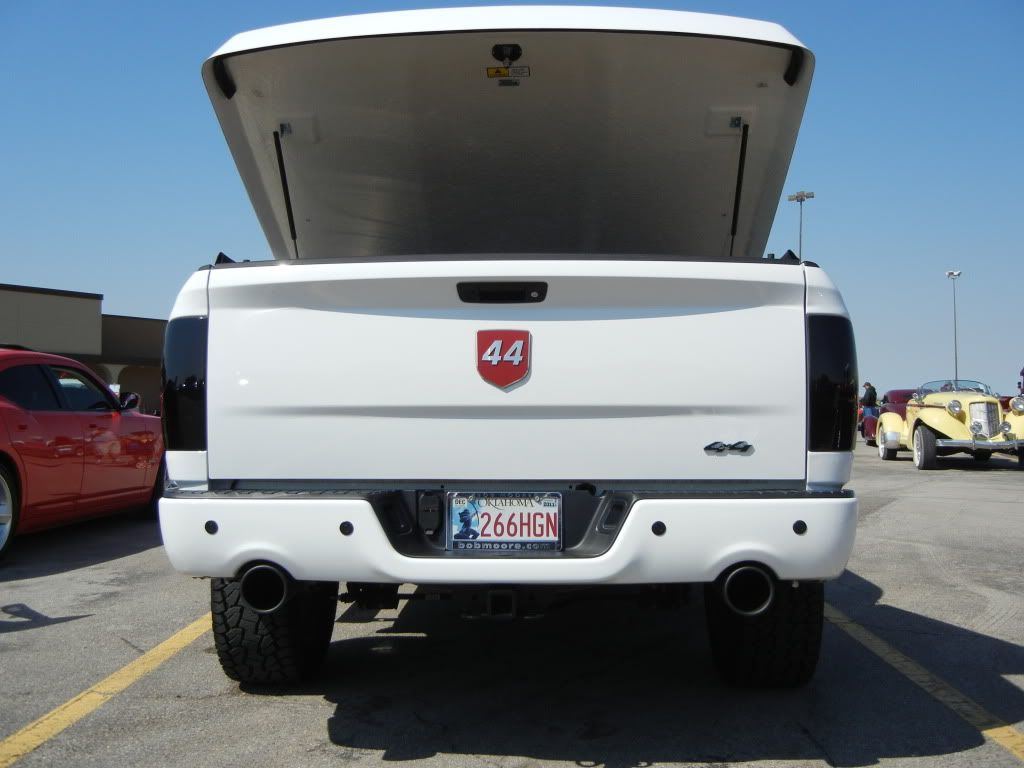
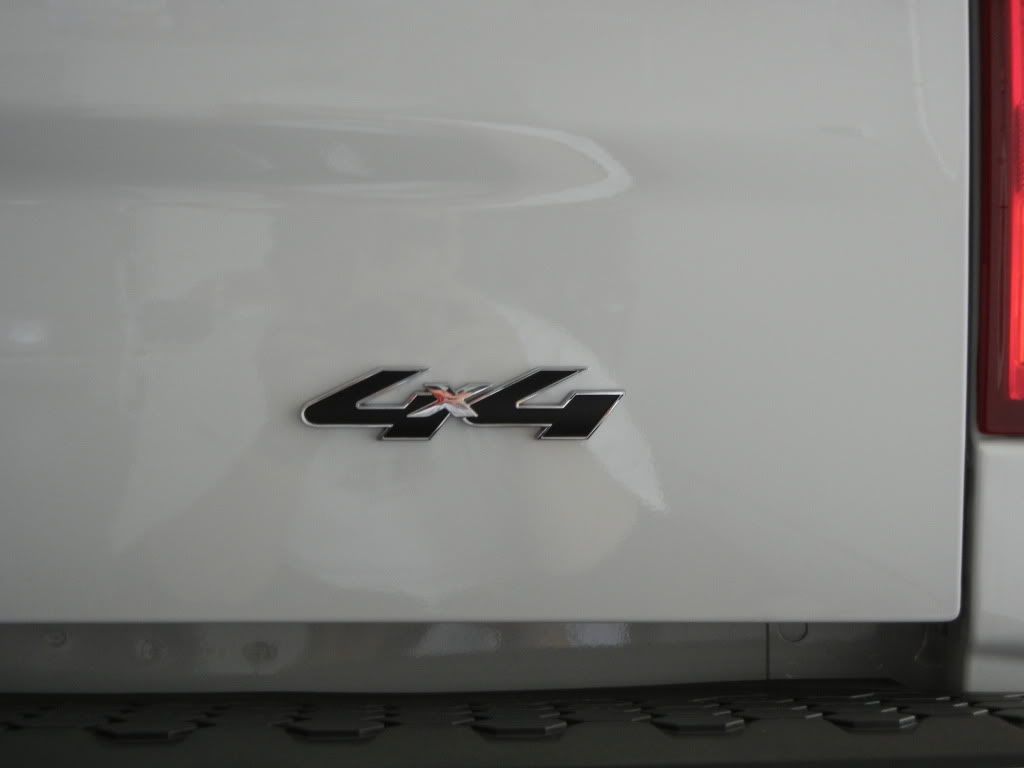
4x4 Emblem- I didn't like the look of the stock emblem, but I got tired of people asking if my truck was 4 wheel drive. This emblem is off of the 2008 Ford Explorer and Sportrac. I know. I know. It's not Dodge, but I liked the black theme and the font they used.
![Image]()
![Image]()
My truck is a 2011 Crew Cab Sport 4x4. I found this one in Waco and had my dealer transport it up to OKC. It has every option Dodge offered except for: sunroof, 3.92s(mistake), power pedals, 32 gallon tank, entertainment package, and the internet. It also came with the chrome tubular side steps and the sport hood.
Disclaimer:
My truck is really dirty in some of these pics. I work outside and by the time I get home the last thing I want to do is go out in this heat and wash my truck.
Also, I am really sorry for all of my typos. I was exhausted when I was typing this thing out and it showed. I tried to go back and fix them. If I missed any let me know and I will edit some more.
Here is the thread for the background on the truck- http://www.ramforumz.com/showthread.php?t=81615&highlight=finishing+touch
My original picture thread- http://www.ramforumz.com/showthread.php?t=81724
I have several mods that I have at home waiting to be installed. I will add them to this thread this weekend and I’ll continue to update this thread on everything I do…
Exterior Mods:
Front Tint- I had the dealer do this before delivery so I don't have a before and after pic. I just had them match the factory tint and I have been pretty happy with it.
Debadged- I did this right when I got the truck and I dont really have any pics as I was going through the process. In my prior vehicles I just used a heat gun and pried the lettering off and used acetone to get the remaining residue off. Followed it up with a wax and I was done. For some reason that just didn't work with the Ram. I think it has to do with the larger size of the badges so they used more adhesive than other companies. It took me forever to do it my way. After I was done I searched for debadging and noticed I was doing it wrong. lol. For the Ram I would highly recommend fishing line to remove the badging and then using an eraser wheel to remove the residue. I am going to post a link to Razorbass debadging thread instead. I doubt that I could do a better job than he did in his write-up http://www.ramforumz.com/showthread.php?t=86530
Bumper Plugs- Just as the name eludes to, these cover the holes in the front bumper from installing a license plate. My truck was originally at a Texas dealer so they put a license plate there before I took possession of it. When I got the Bumper Plugs in, I drilled out the holes per the install instructions and just pushed them in. Be careful not to push on the edges because that can crack the paint. It's not as clean as no holes, but it’s hard to notice them unless you know what you are looking for.
Billet shorty antenna- I purchased this off of eBay. I don't think a write-up is really needed. lol. The sellers name is ndzperformance. They shipped it out promtly and packaged it well. It was a little expensive for an antenna, but I was okay with it. You can always go to autozone and get a similar product...
4x4 Emblem- I didn't like the look of the stock emblem, but I got tired of people asking if my truck was 4 wheel drive. This emblem is off of the 2008 Ford Explorer and Sportrac. I know. I know. It's not Dodge, but I liked the black theme and the font they used.
") Super clean white truck.
Super clean white truck.


